
UPDATE (July 2025): This method is now deprecated. Please see my new article “The Easiest Way to Set Up Nightscout in 2025” for my preferred method with less admin work headache.
UPDATE (Nov 2021):
Sugarmate has dropped support for Dexcom users, therefore this guide will help you setup Nightscout and link it with Dexcom servers. There is a special section below for Dexcom users and how to setup the special Share2Nightscout bridge plugin.
What is Nightscout?
Nightscout is an open source tool that helps people suffering from Type 1 Diabetes to continuously monitor their blood glucose (BG). Their real-time BG data are uploaded from their CGM (Continuous Glucose Meter) to the cloud and presented in a personal website, smartwatch, smartphone apps and widgets. This article is a Nightscout setup guide that will help you build your personal Nightscout site in around 30mins.
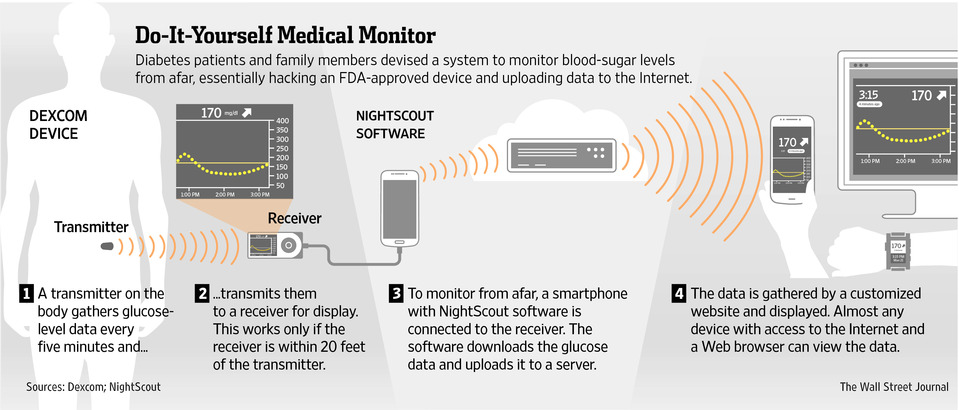
How does Nightscout work [Infographic]
In this infographic from “The Wall Street Journal” we can briefly see how Nightscout works using a Dexcom device.
How to setup Nightscout?
A comprehensive step-by-step guide on how to setup Nightscout if you are a new user.
Total Time: 30 minutes
Create a GitHub Account
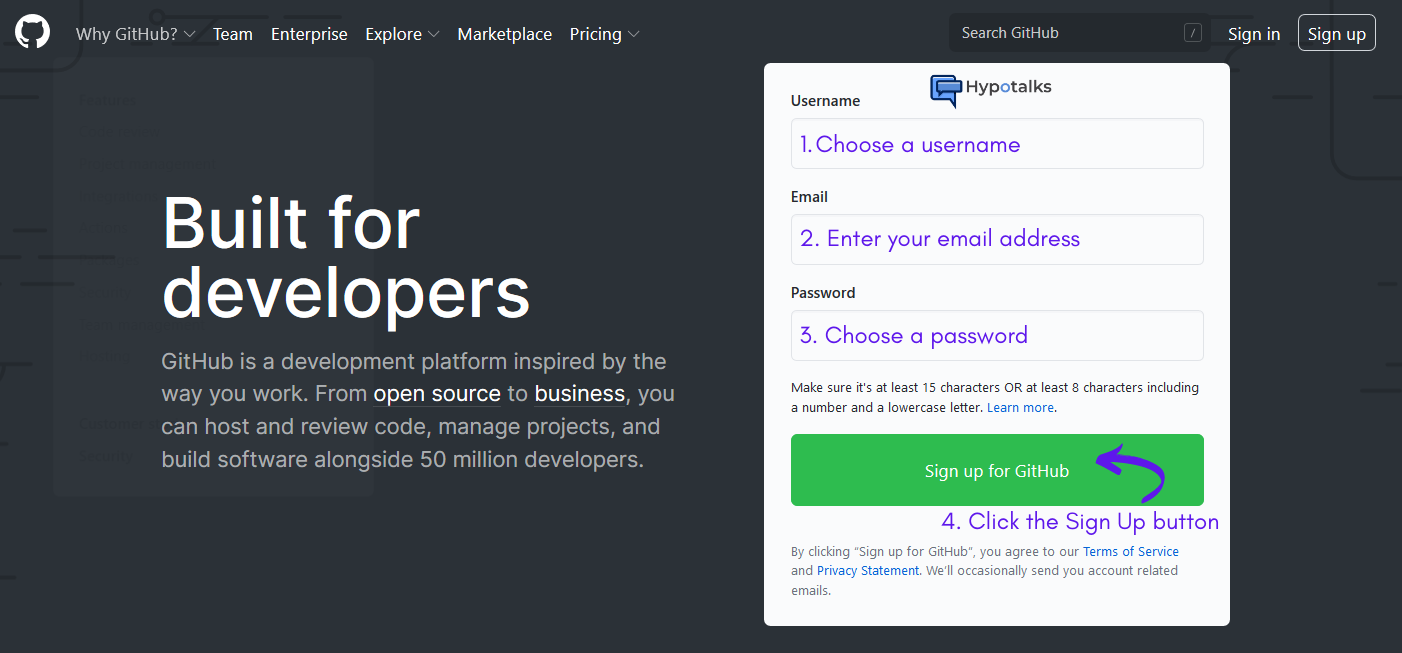
a. Navigate to GitHub.com. Fill in your email, your desired username and password and click “Sign Up for GitHub”.
 b. Verify your account by solving the puzzle. After verification is complete, click “Join a free plan”.
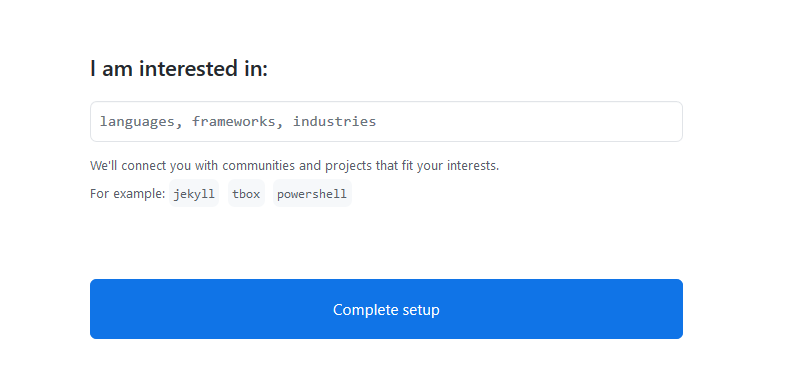
 c. Select the options that match your profile (not important for the setup, it’s not mandatory to click any) and click “Complete setup” button.
d. In order for the account to be activated, you should verify your email address.
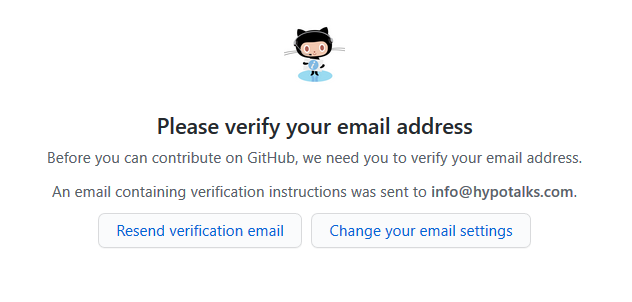
e. Go to your inbox, find the email from GitHub and click the embedded verification link.

f. Your email is now confirmed. Skip the next step.

g. Your GitHub account is now created and active. Your GitHub homepage should now look like this.
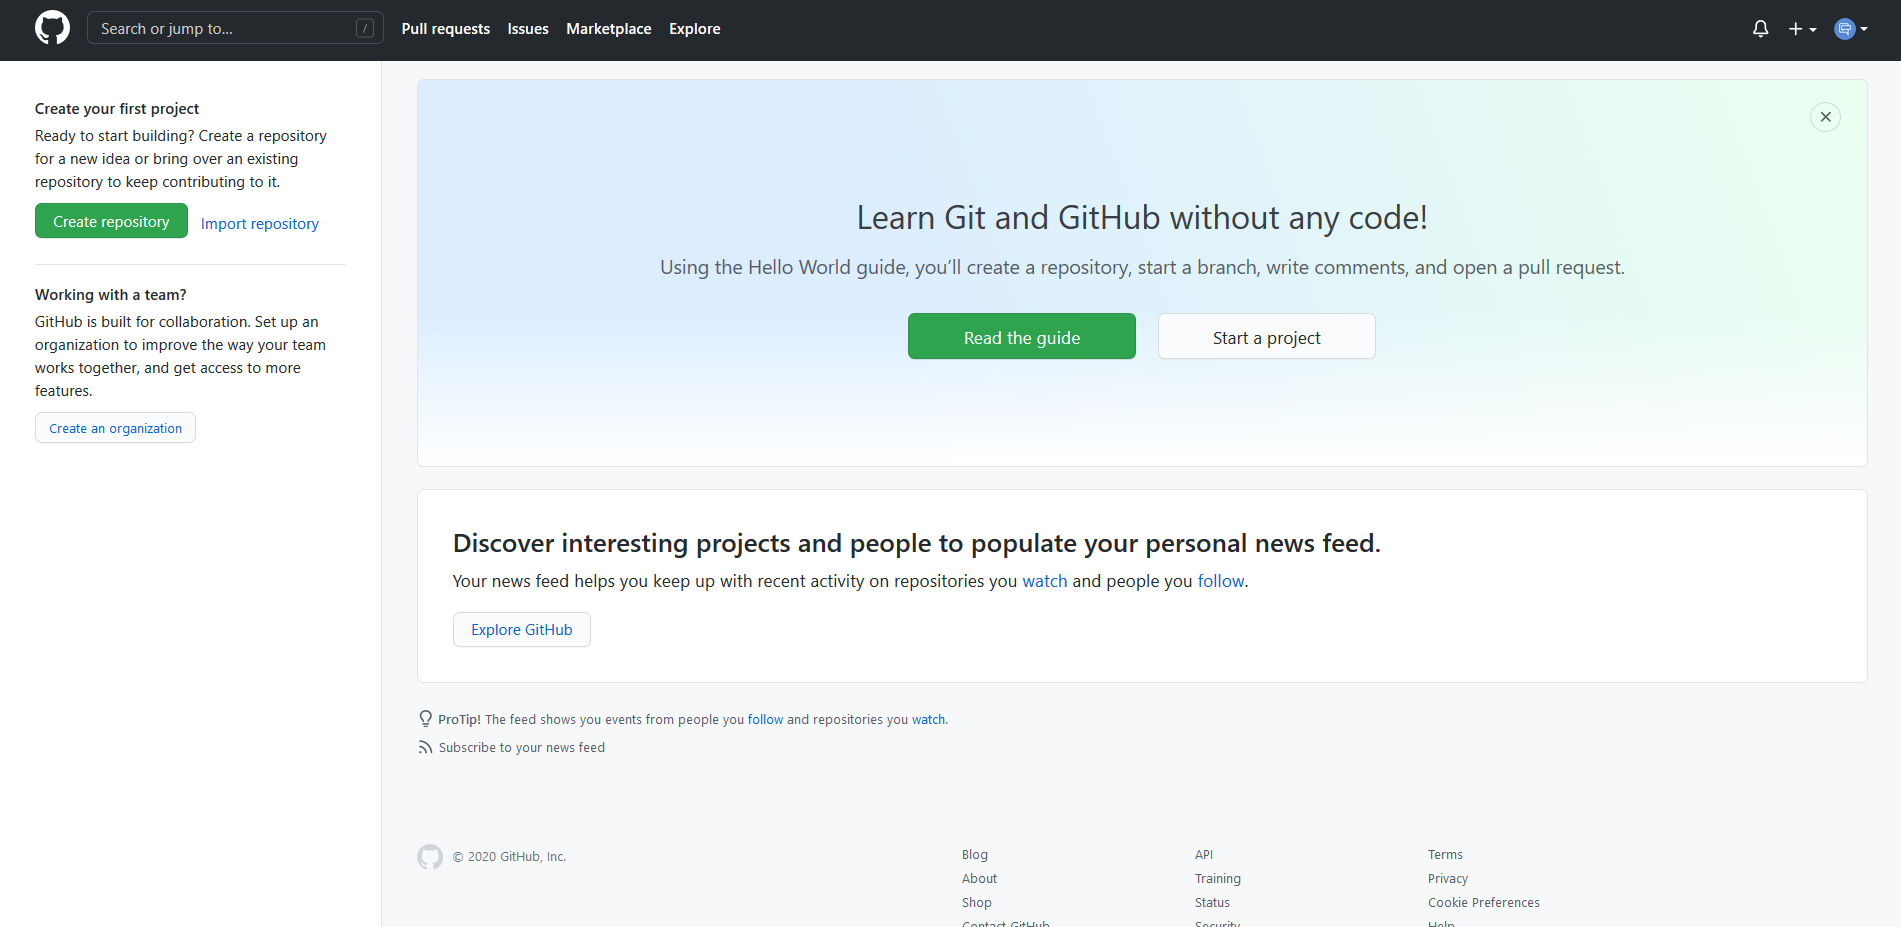
Your GitHub account is now ready. Please leave the browser tab open.
Create a Heroku account
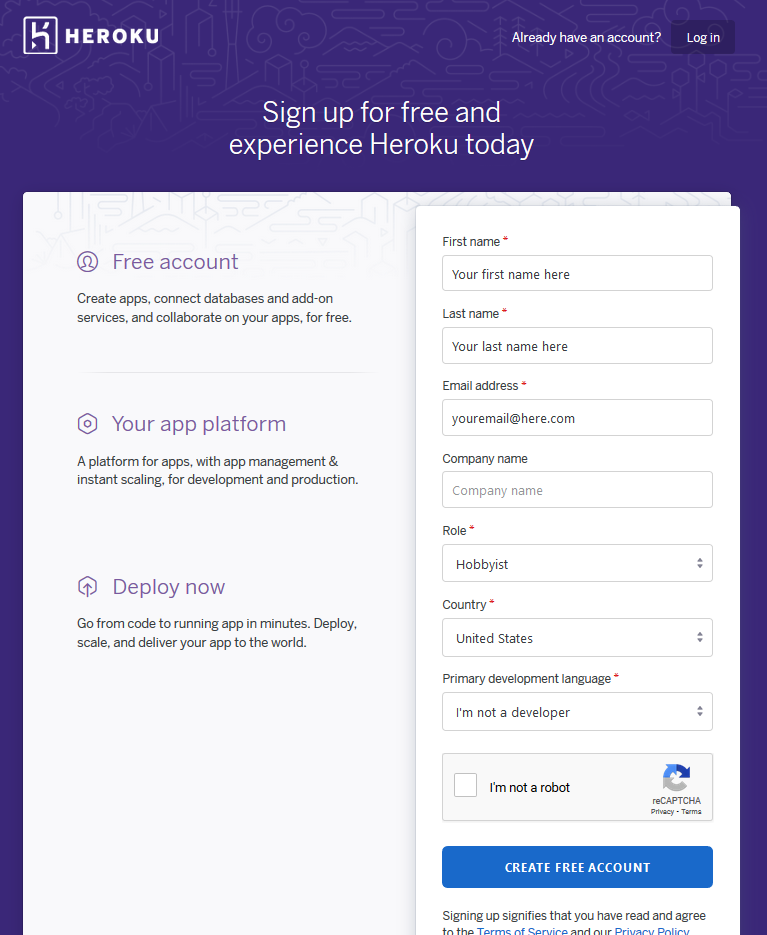
a. On another browser tab, navigate to https://signup.heroku.com/ to create a new Heroku account. Fill in the mandatory fields (*) and click “CREATE FREE ACCOUNT” button.
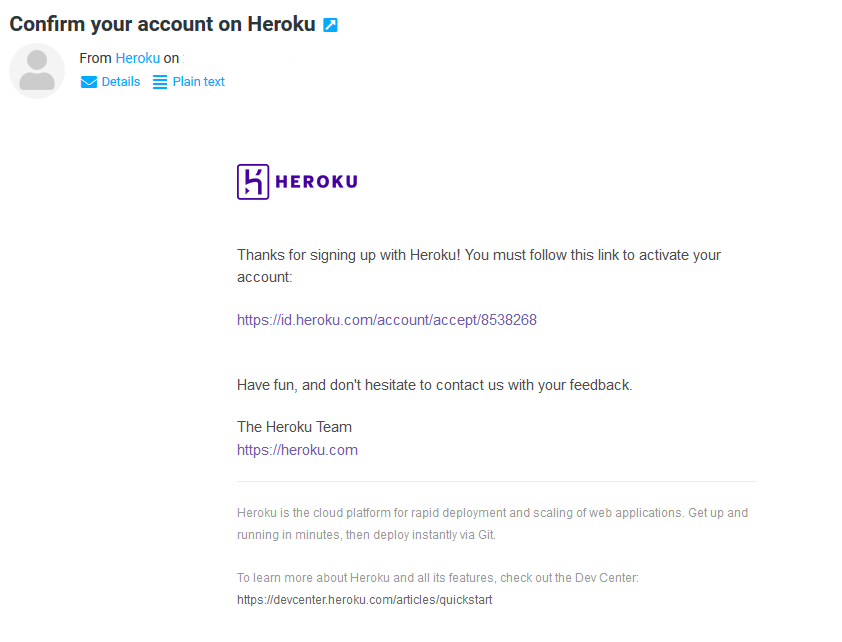
b. Verify your Heroku account. Go to your email inbox and check for an email verification from Heroku. Click on the verification link.
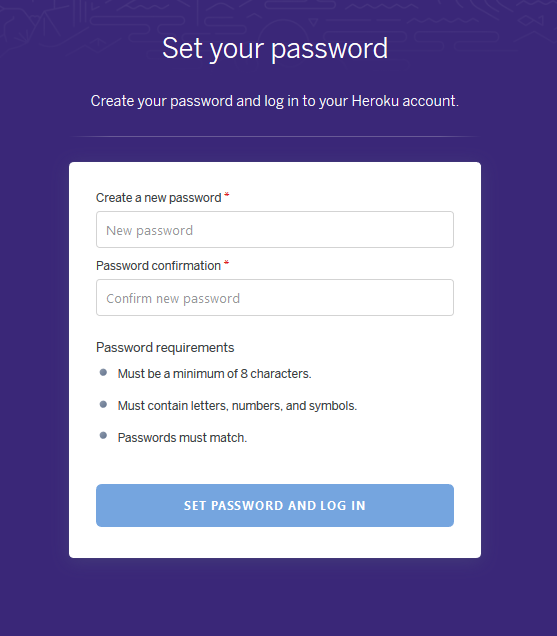
c. Your Heroku account is now activated. Setup your desired password and click “SET PASSWORD AND LOGIN” button.
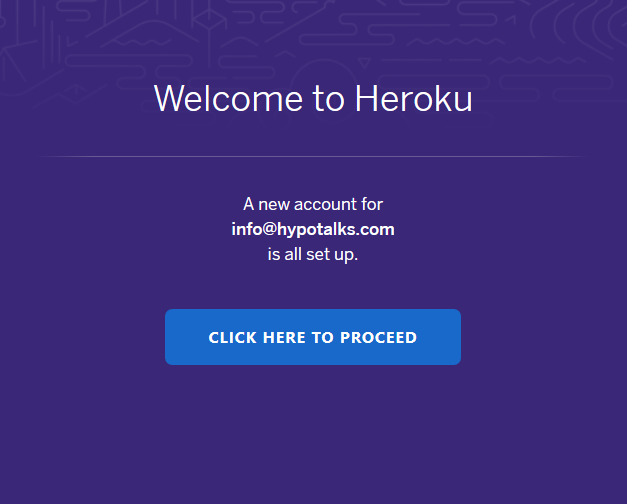
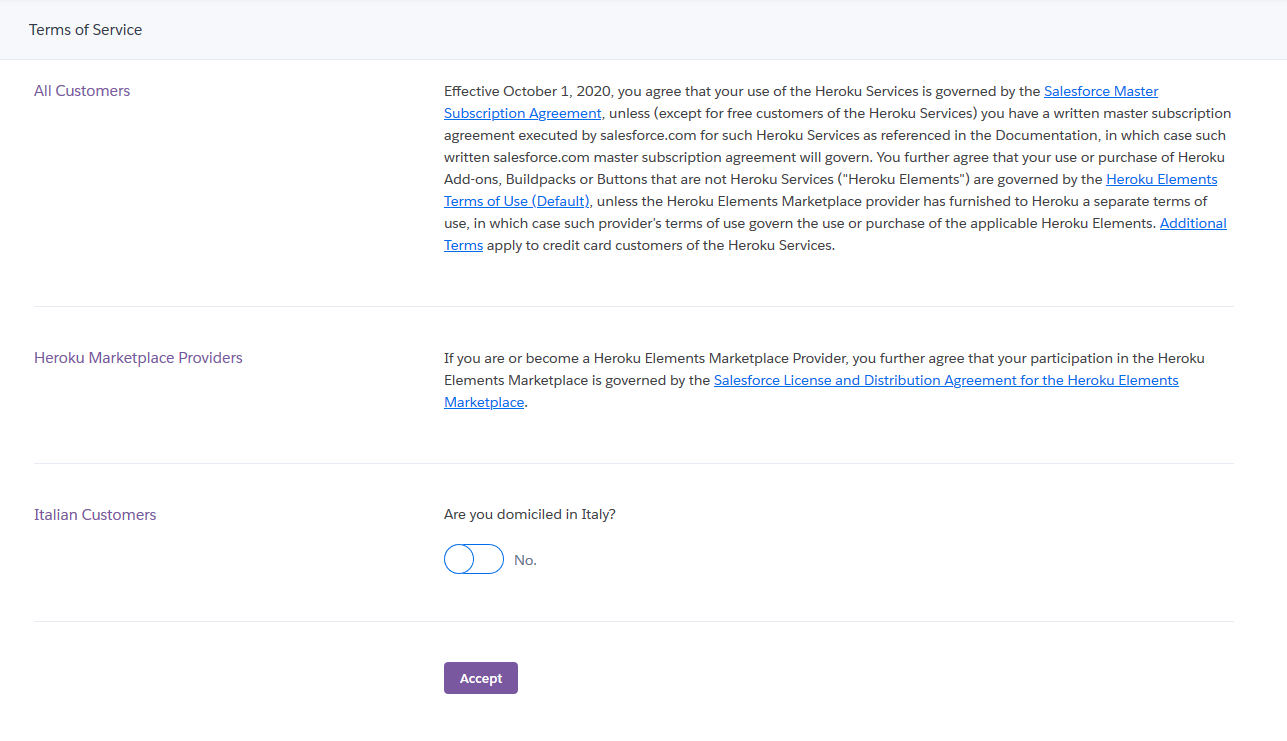
d. If this message appears, your Heroku account is ready. On the next page accept the Terms of Service.
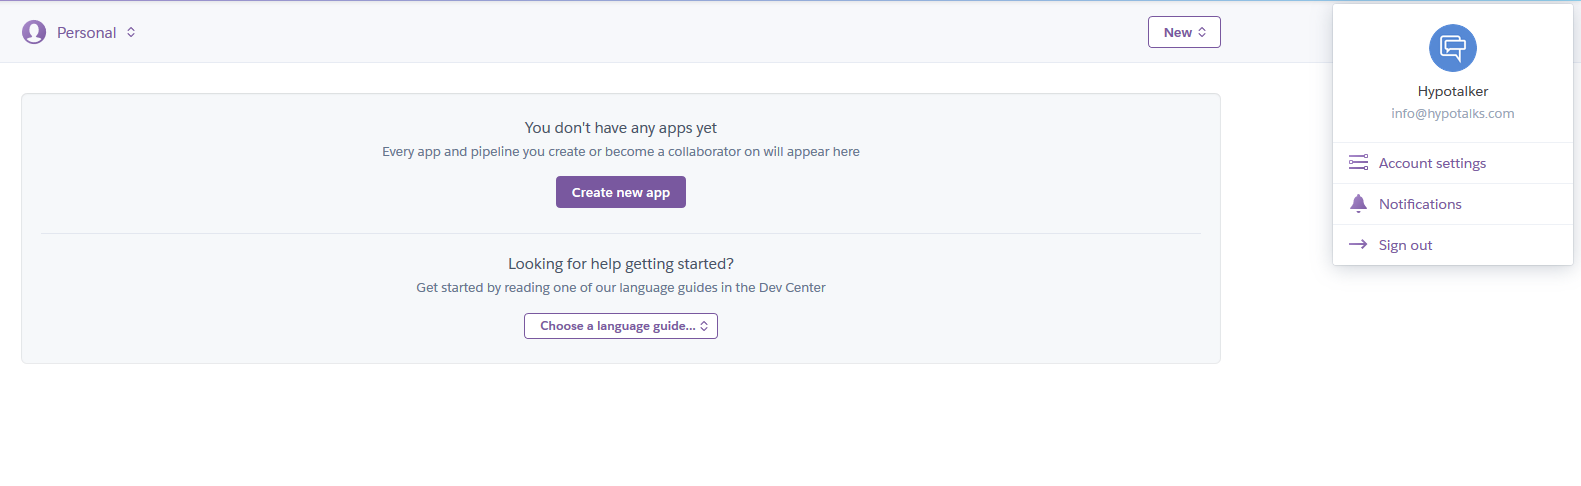
 e. Navigate to Heroku “Account Settings” from the top right menu.
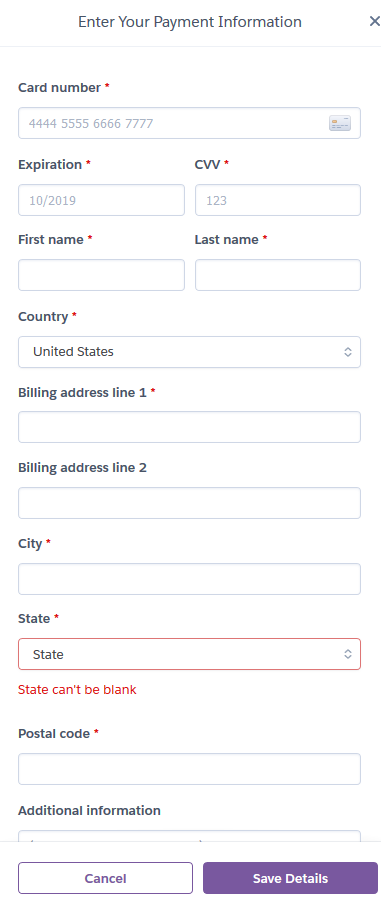
f. In order to use Heroku services you should setup a payment method. Therefore you should add a valid credit card by clicking the “Add credit card” button.
NOTE: This is only for verification purposes. You will only be charged if you use Heroku billable features. A typical Nightscout setup uses non-billable features.
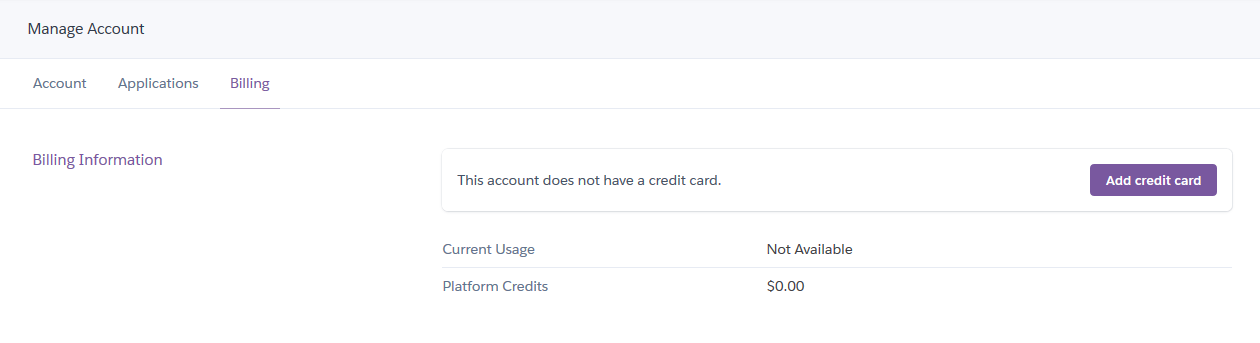
g. Add your valid credit card details and click on the Save Details button.
Your Heroku account is now ready. Please leave the browser tab open.
Create an Atlas account.
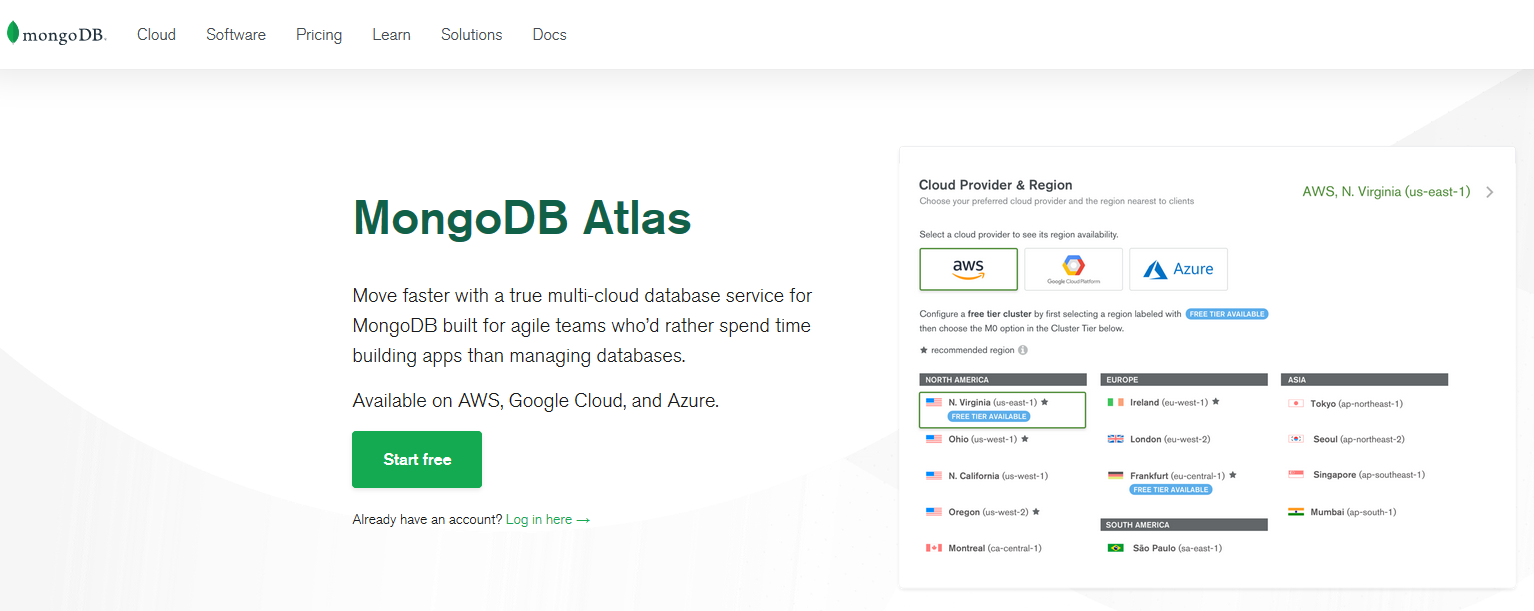
a. Open another browser tab and navigate to MongoDB Atlas. Click the Start Free button on the homepage.
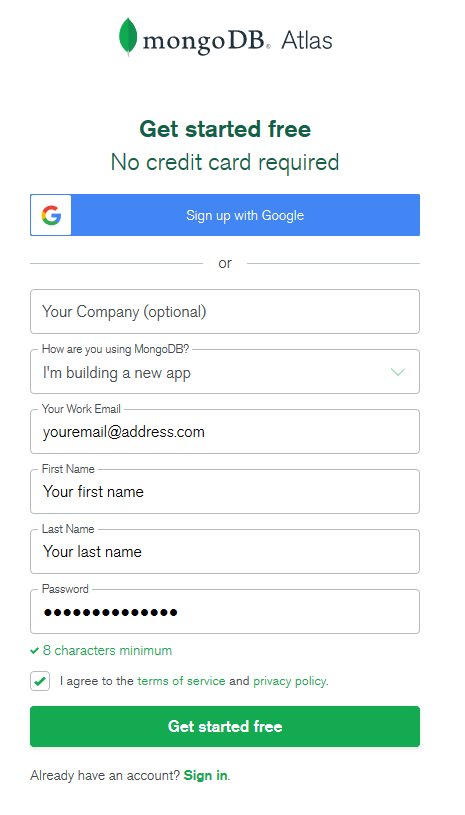
b. Enter your details, accept the terms and click on “Get started free” button.
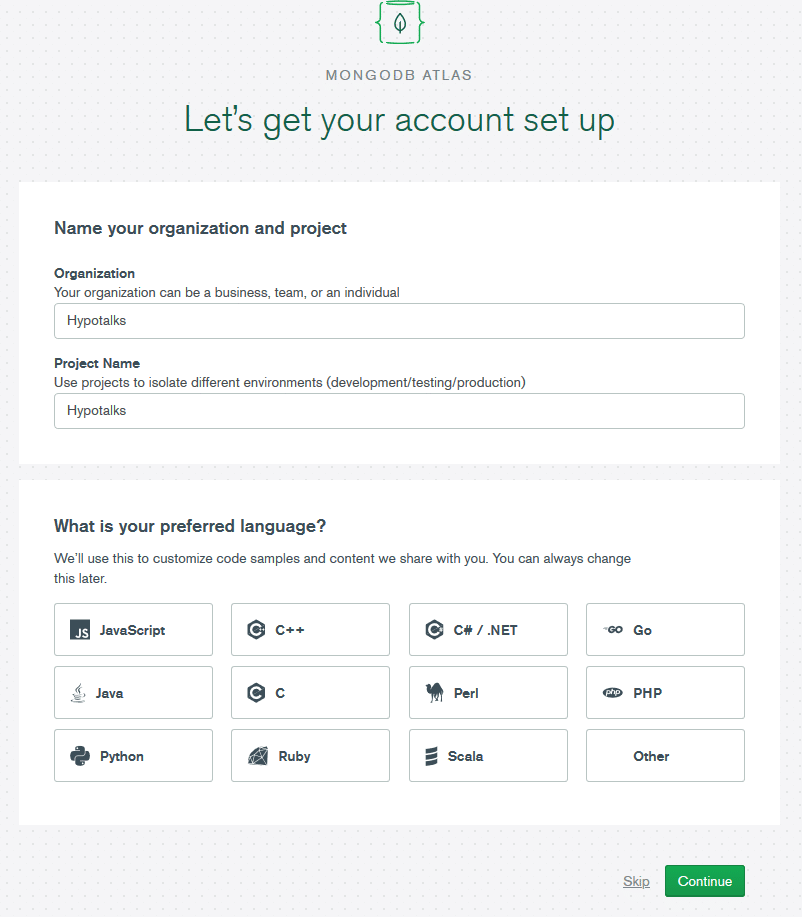
c. You may skip the next step below by clicking the Skip button.
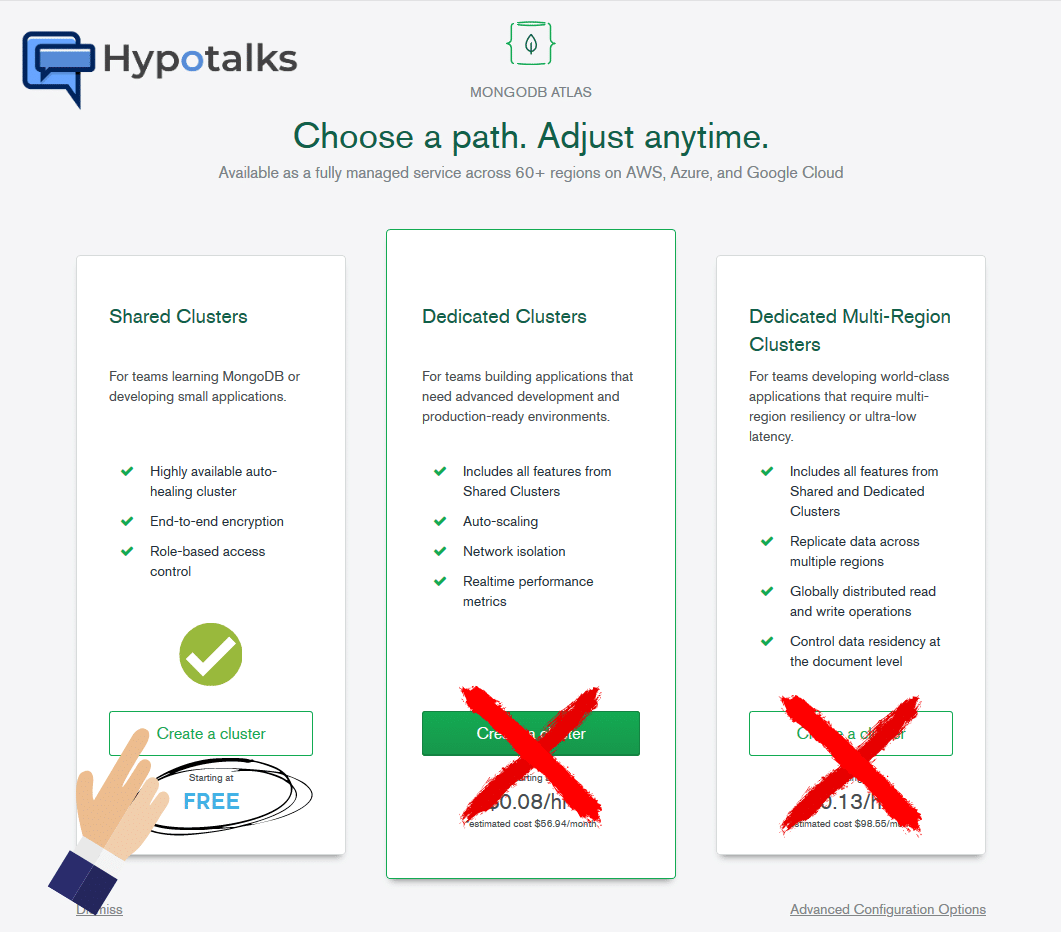
d. Click the button “Create a cluster” in the column “Shared Clusters“.
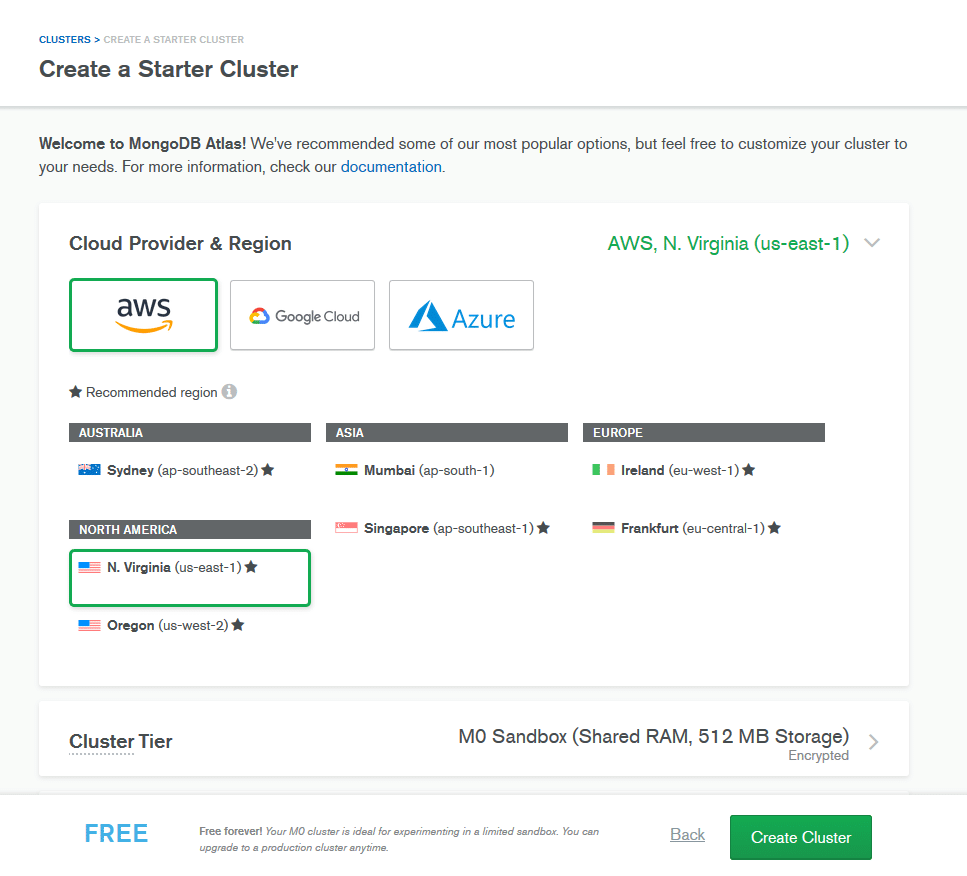
 e. Leave the default selections and proceed by clicking the Create Cluster button on the bottom right of the page.
f. Your cluster is being created. This process takes a few minutes so please be patient.
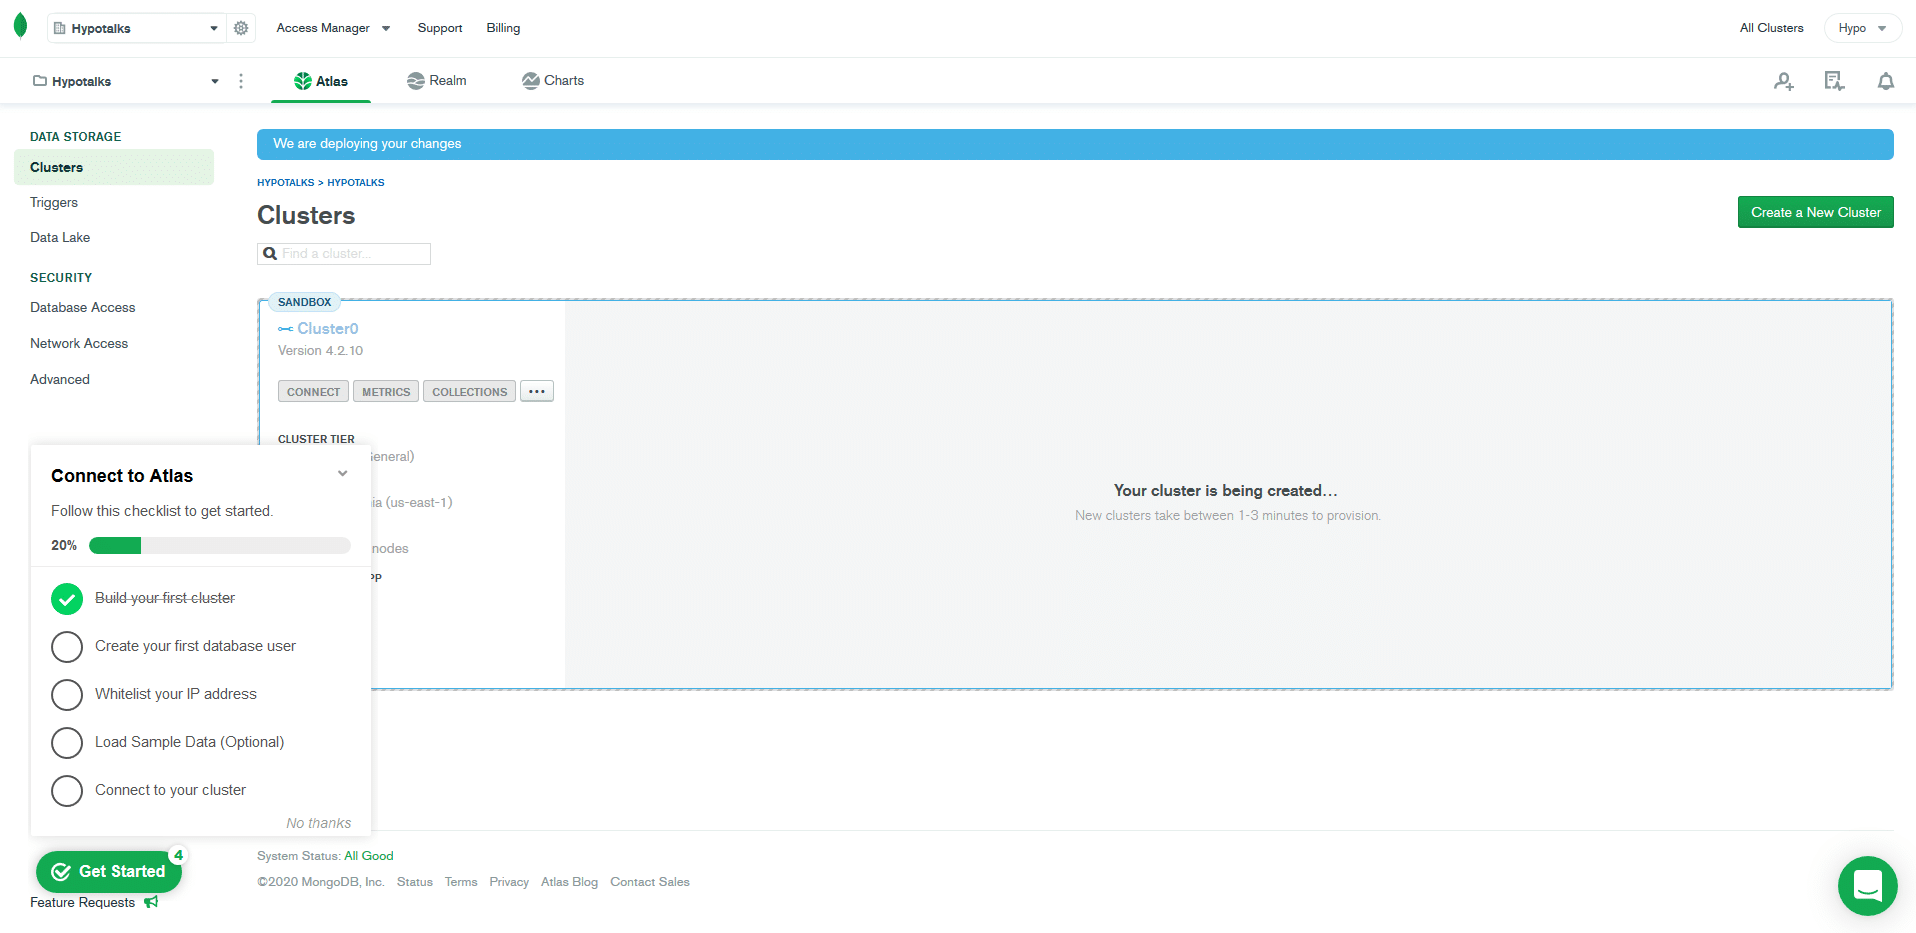 g. Click on CONNECT button, after the cluster creation process has finished.

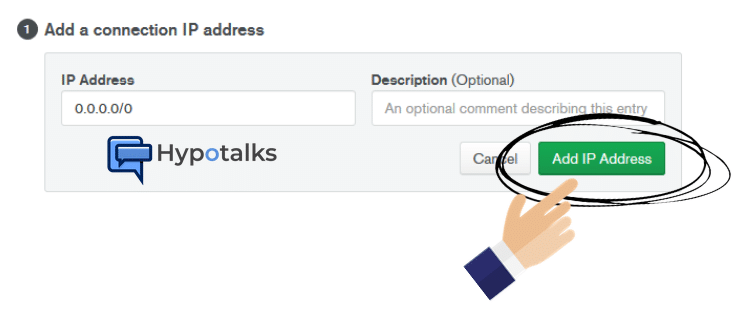
h. Click on Allow Access from Anywhere.
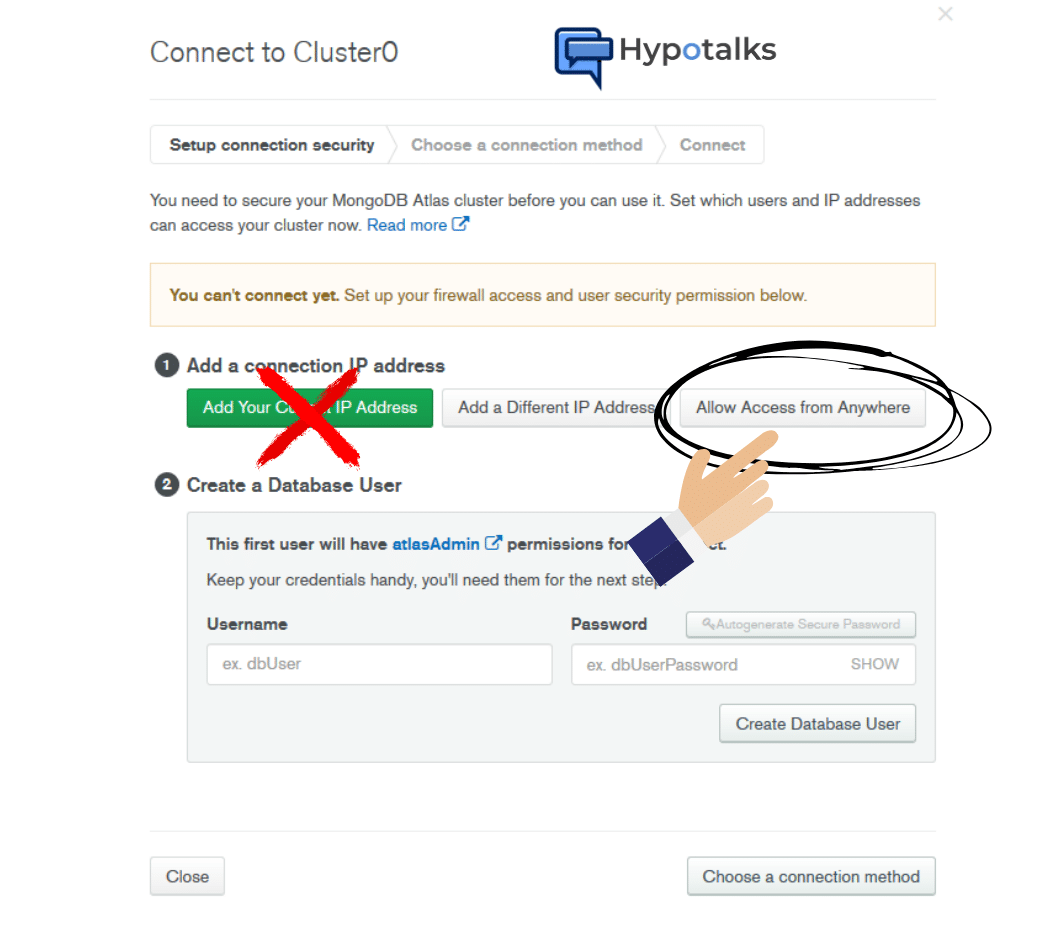
i. Click on Add IP Address button.
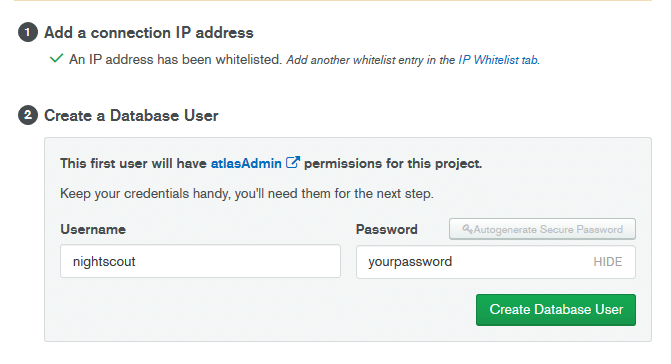
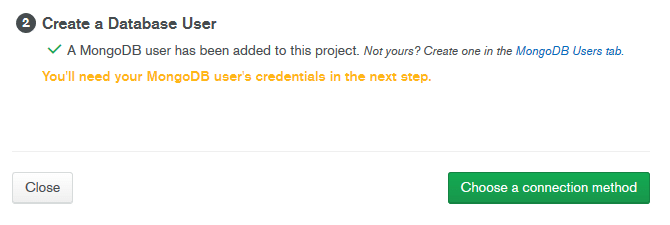
j. Create a database user. Enter your desired database username and your desired database password. Take note of them as you will need them later on. Click on the Create Database User button when finished and then click the Choose Connection Method.
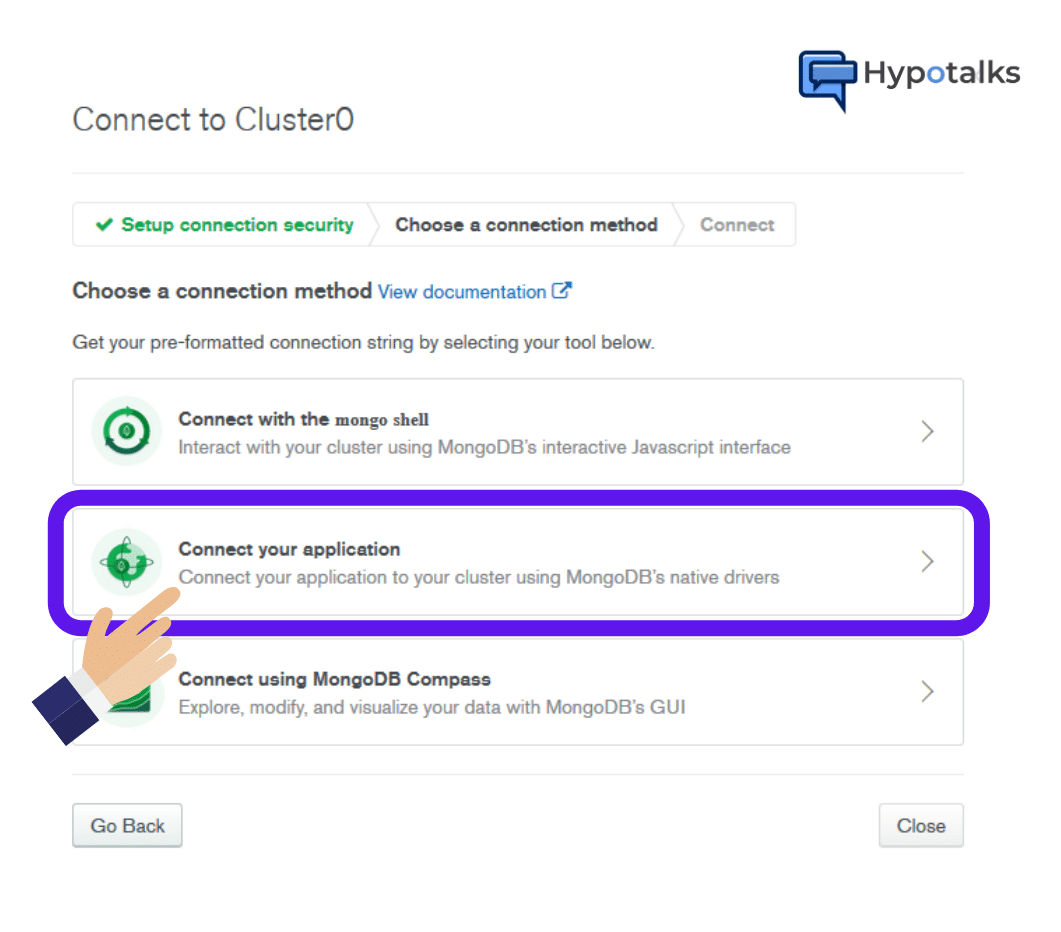
k. Choose “Connect your application“
l. Copy the connection string by clicking the Copy button. Paste the string on a notepad and follow the guidance below in order to replace the username and password on the string with the ones that you have set on step 3j above.
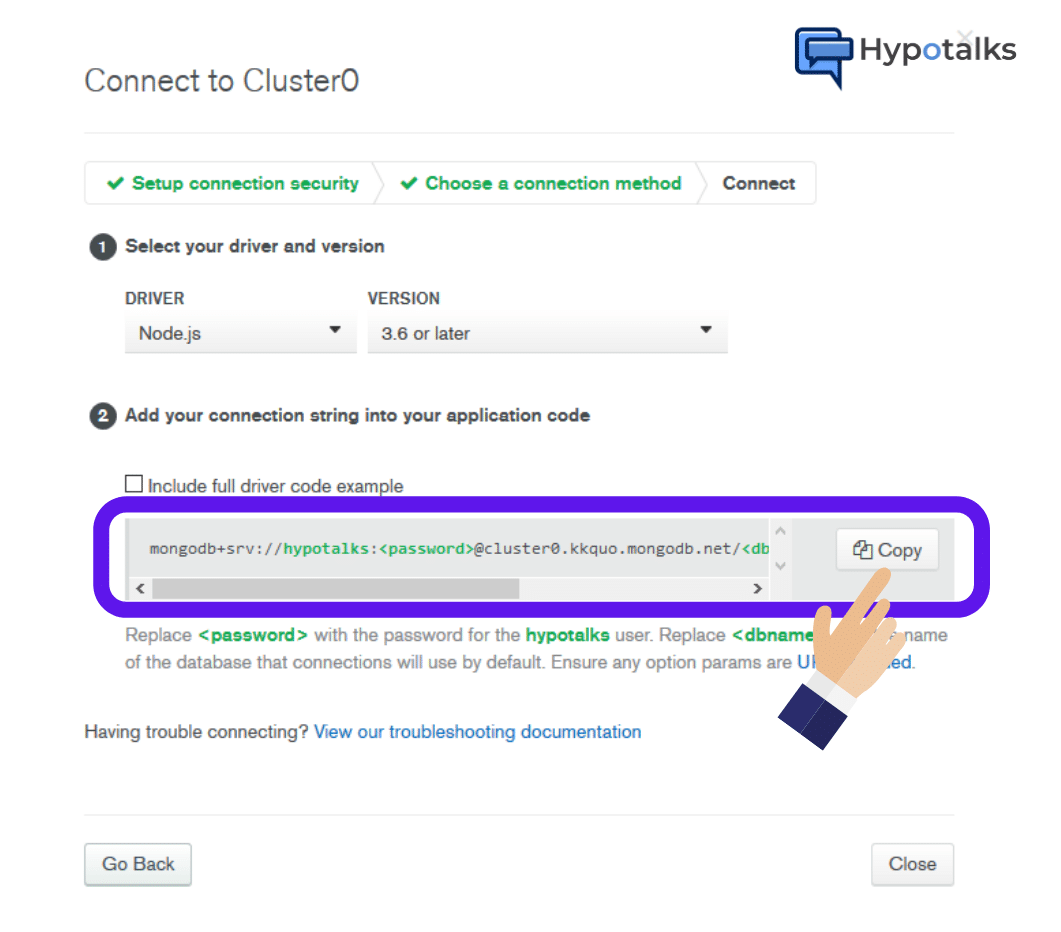
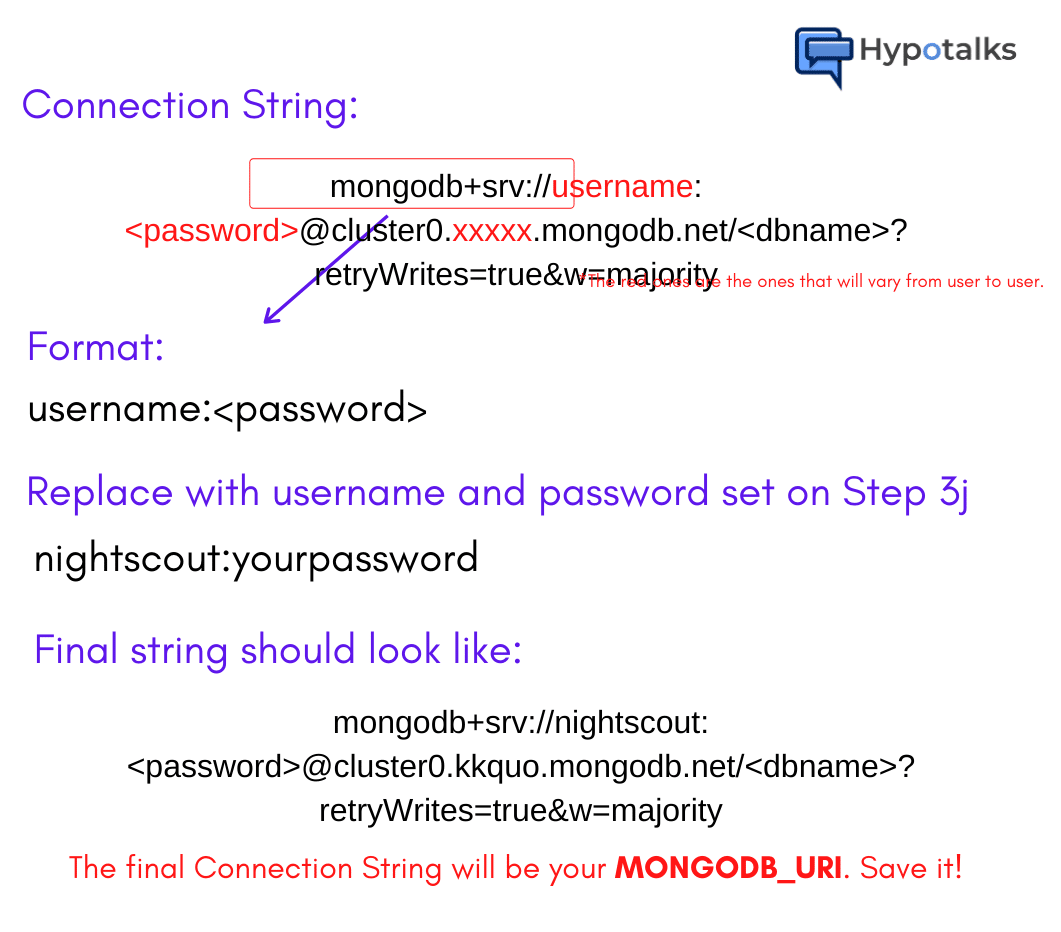
NOTE: The final Connection String will be your MONGODB_URI. Save it for later use!
Fork cgm-remote-monitor from Nightscout’s GitHub repository and deploy to your Heroku
a. Navigate to https://github.com/nightscout/cgm-remote-monitor. Ensure that you are logged in to GitHub. Click on the Fork button.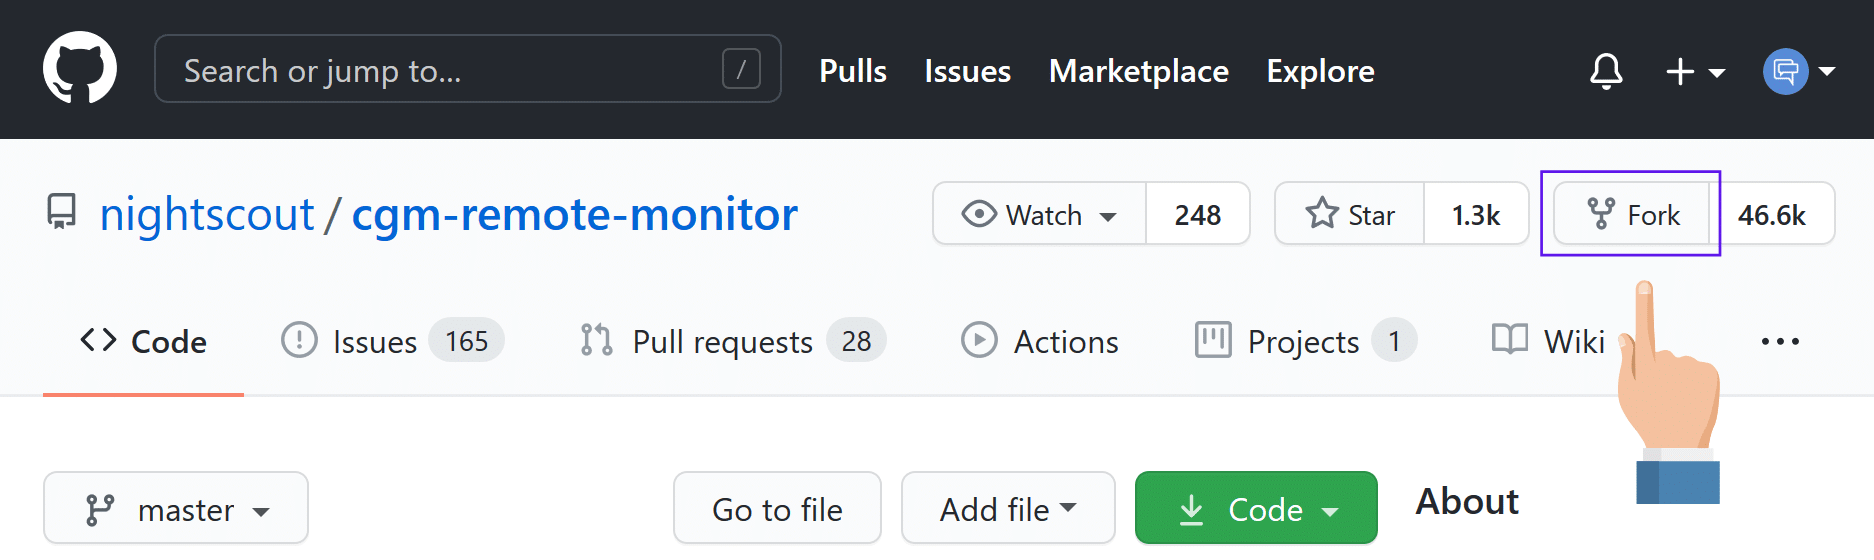
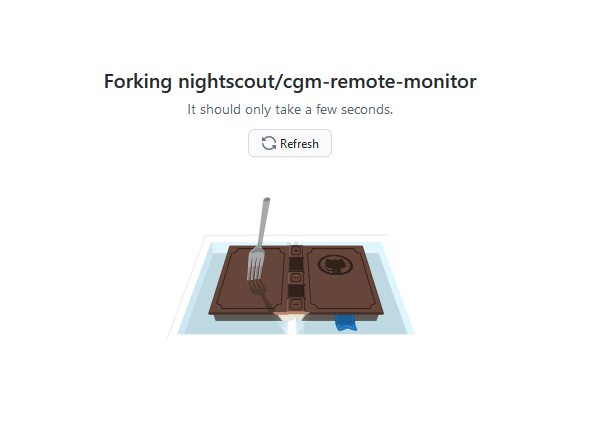
b. Please wait until forking is finished.
c. Scroll down and click “Deploy to Heroku” button.

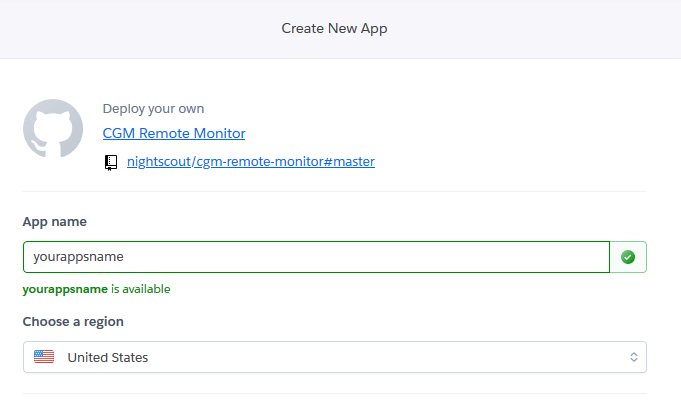
d. Choose an app name for your Heroku site. Choose something that you will remember as it will be part of the URL you will be using to enter your nightscout site.
For example the URL format will be: https://yourappsname.herokuapp.com, so choose something easy to remember and type.
Do not change the region on the field below.
e. Scroll down until you find API_SECRET. This is required to continue and will be your Nightscout password. A passphrase that must be at least 12 characters long. Avoid ‘special‘ characters.

f. Set the DISPLAY_UNITS you will be using to display your BG. Values can be either mg/dl or mmol.

g. Set the ENABLE values. These are various plugins that will add more features to your Nightscout site. These will be documented in detail on another article. For now you can add all of them. Simply copy-paste the following line.
careportal basal dbsize rawbg iob maker bridge cob bwp cage iage sage boluscalc pushover treatmentnotify mmconnect loop pump profile food openaps bage alexa override
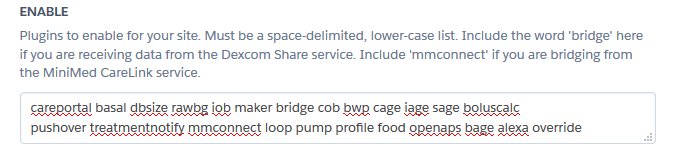
NOTE: Enabling all plugins does not mean that all of them will work by default. Some of them will, but some of them need further configuration.
h. Copy the connection string that you have created in step 3l above in the MONGODB_URI field. Don’t paste the URL below, as this is an example. You should replace the parts in red color with the correct ones that your string has.
Example URI:
mongodb+srv://yourusername:yourpassword@cluster0.xxxxx.mongodb.net/?retryWrites=true&w=majority

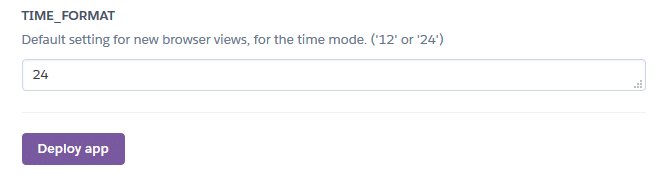
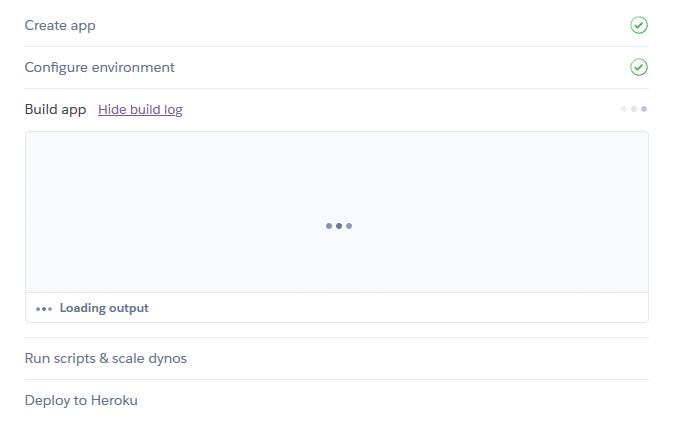
j. Deploy app by clicking the respective button.
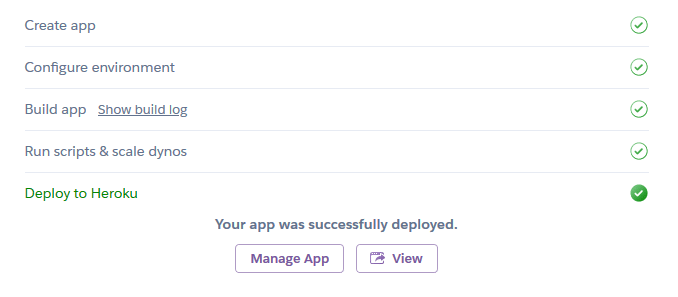
k. Exercise your patience as the progress might take a few minutes. Once the deployment has finished click the View button.
l. For Dexcom users you have to connect Nightscout with Dexcom servers in order to pull the data.
Please follow the steps below:
1. Go to Heroku
2. Choose your app you have just created.
3. Click the gear icon.
4. Select Reveal Config Vars button to reveal Heroku variables.
5. Find ENABLE and add in the values next to it the word bridge, in order to add the bridge plugin. You have to click the pencil icon to enable editing. This will eventually bridge Nightscout with your Dexcom Share.
6. Find BRIDGE_USER_NAME and add as a value your Dexcom username (the one you use for Dexcom account, Clarity etc)
7. Find BRIDGE_PASSWORD and as a value add your Dexcom password.
8. Find BRIDGE_SERVER and as a value add EU if you are in Europe or leave the default blank value to pull data from Dexcom US servers.
9. Your settings are automatically saved.
10. Exit Heroku and leave some time for Nightscout to collect the data.
NOTE: There are more parameters to customize if possible but you have to manually add the respective parameters in HEROKU. More details on official Nightscout page: https://nightscout.github.io/nightscout/setup_variables/#bridge-share2nightscout-bridge
Setup your new Nightscout site
Your new Nightscout site is now live! We are not over yet. We have to edit some settings on the frontend.
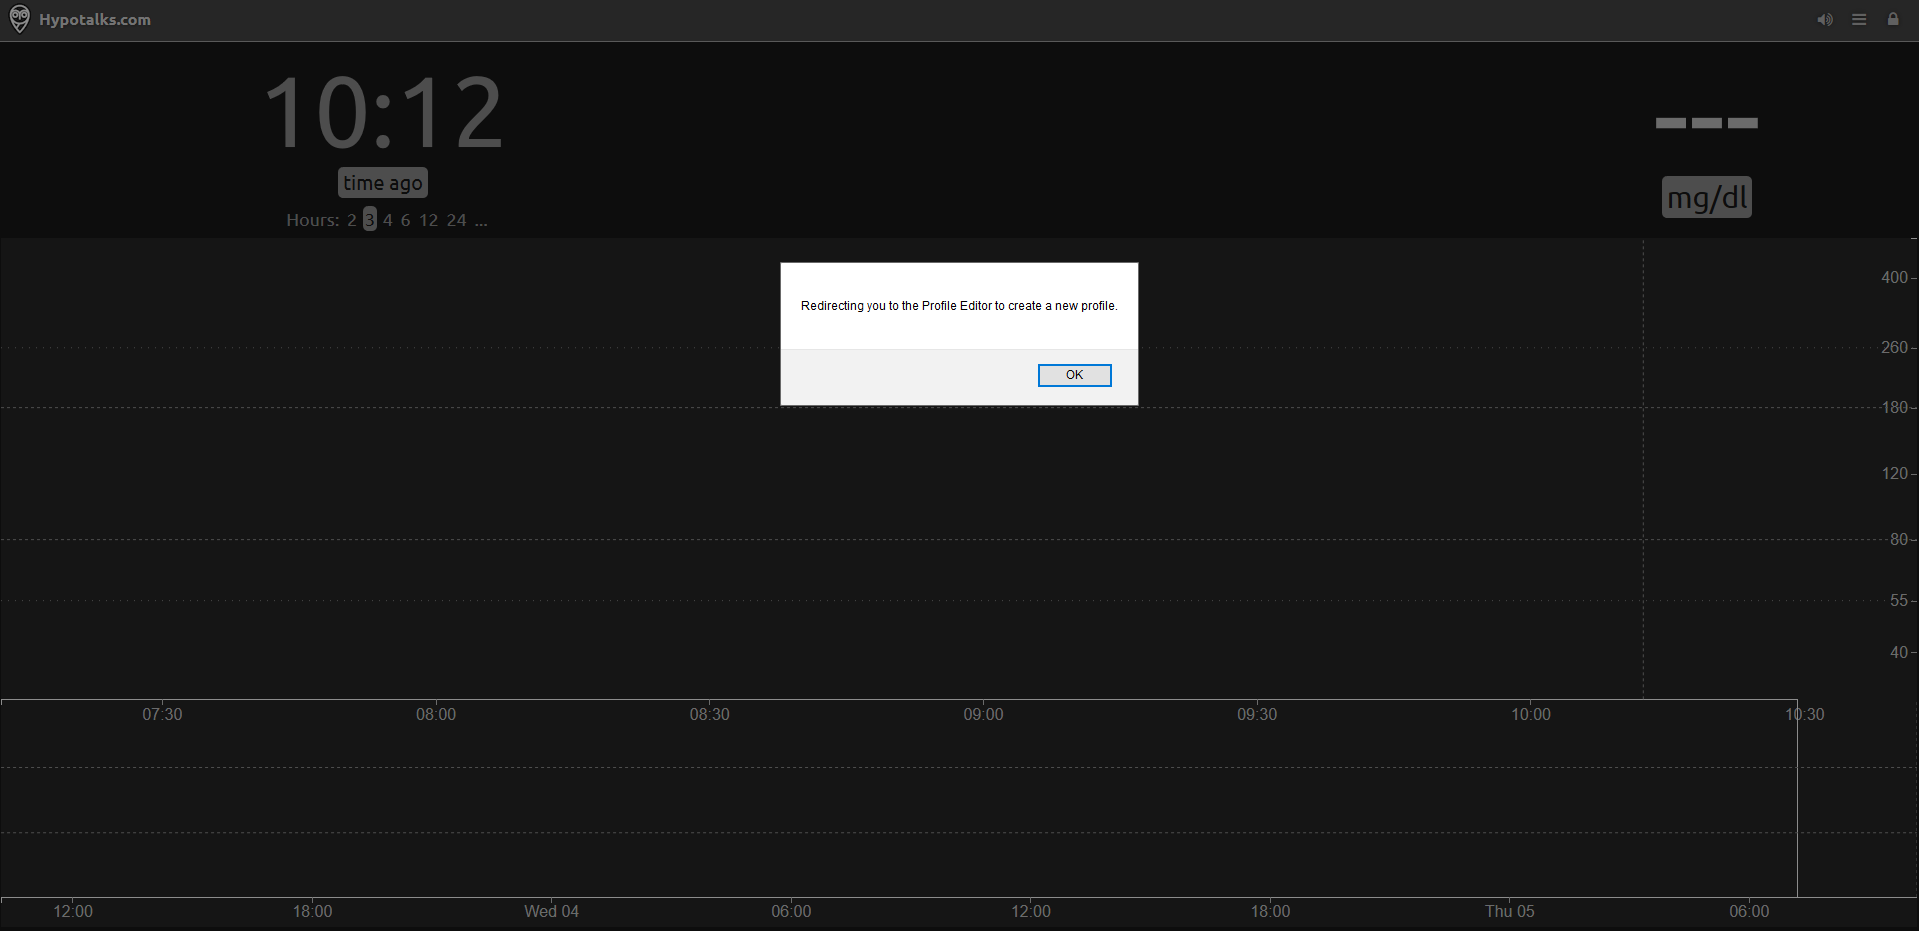
a. Click OK on the pop up window “Redirecting you to the Profile Editor to create a new profile.”
 b. Change the timezone
Timezone: [Select your timezone]

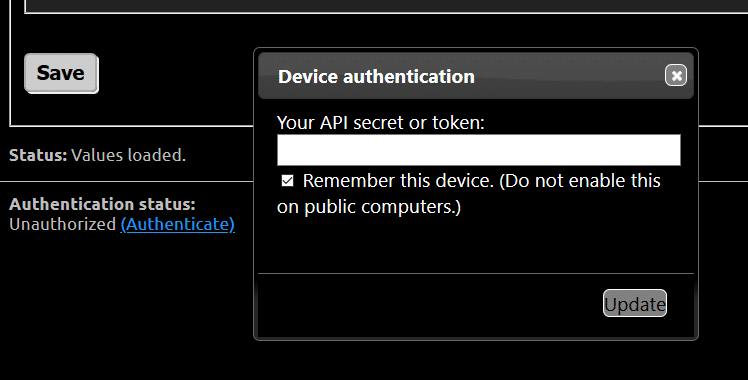
c. Scroll down and click the Authenticate link. A Device Authentication pop up window will open. Fill in your API_SECRET you have used while setting up Heroku and then click the Update button.
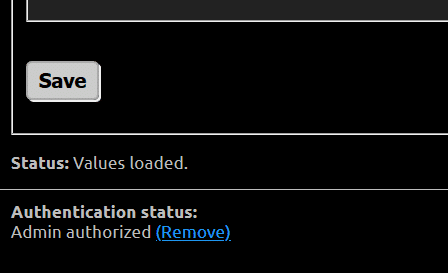
NOTE: If the API_SECRET you have entered is correct (and not misspelled for example) you will now see the message Admin Authorized.
d. Click Save button. In the top right part of your Nightscout site you will now see the message Status: SUCCESS which means that the settings were successfully saved.
Setup your CGM data uploader
Your Nightscout site is now online. You should now configure your uploader in order to push the CGM data to Nightscout. There are multiple ways to achieve it depending the device you are using. Below you can see a very comprehensive diagram with almost all the ways that someone can upload his BG data to the Cloud.
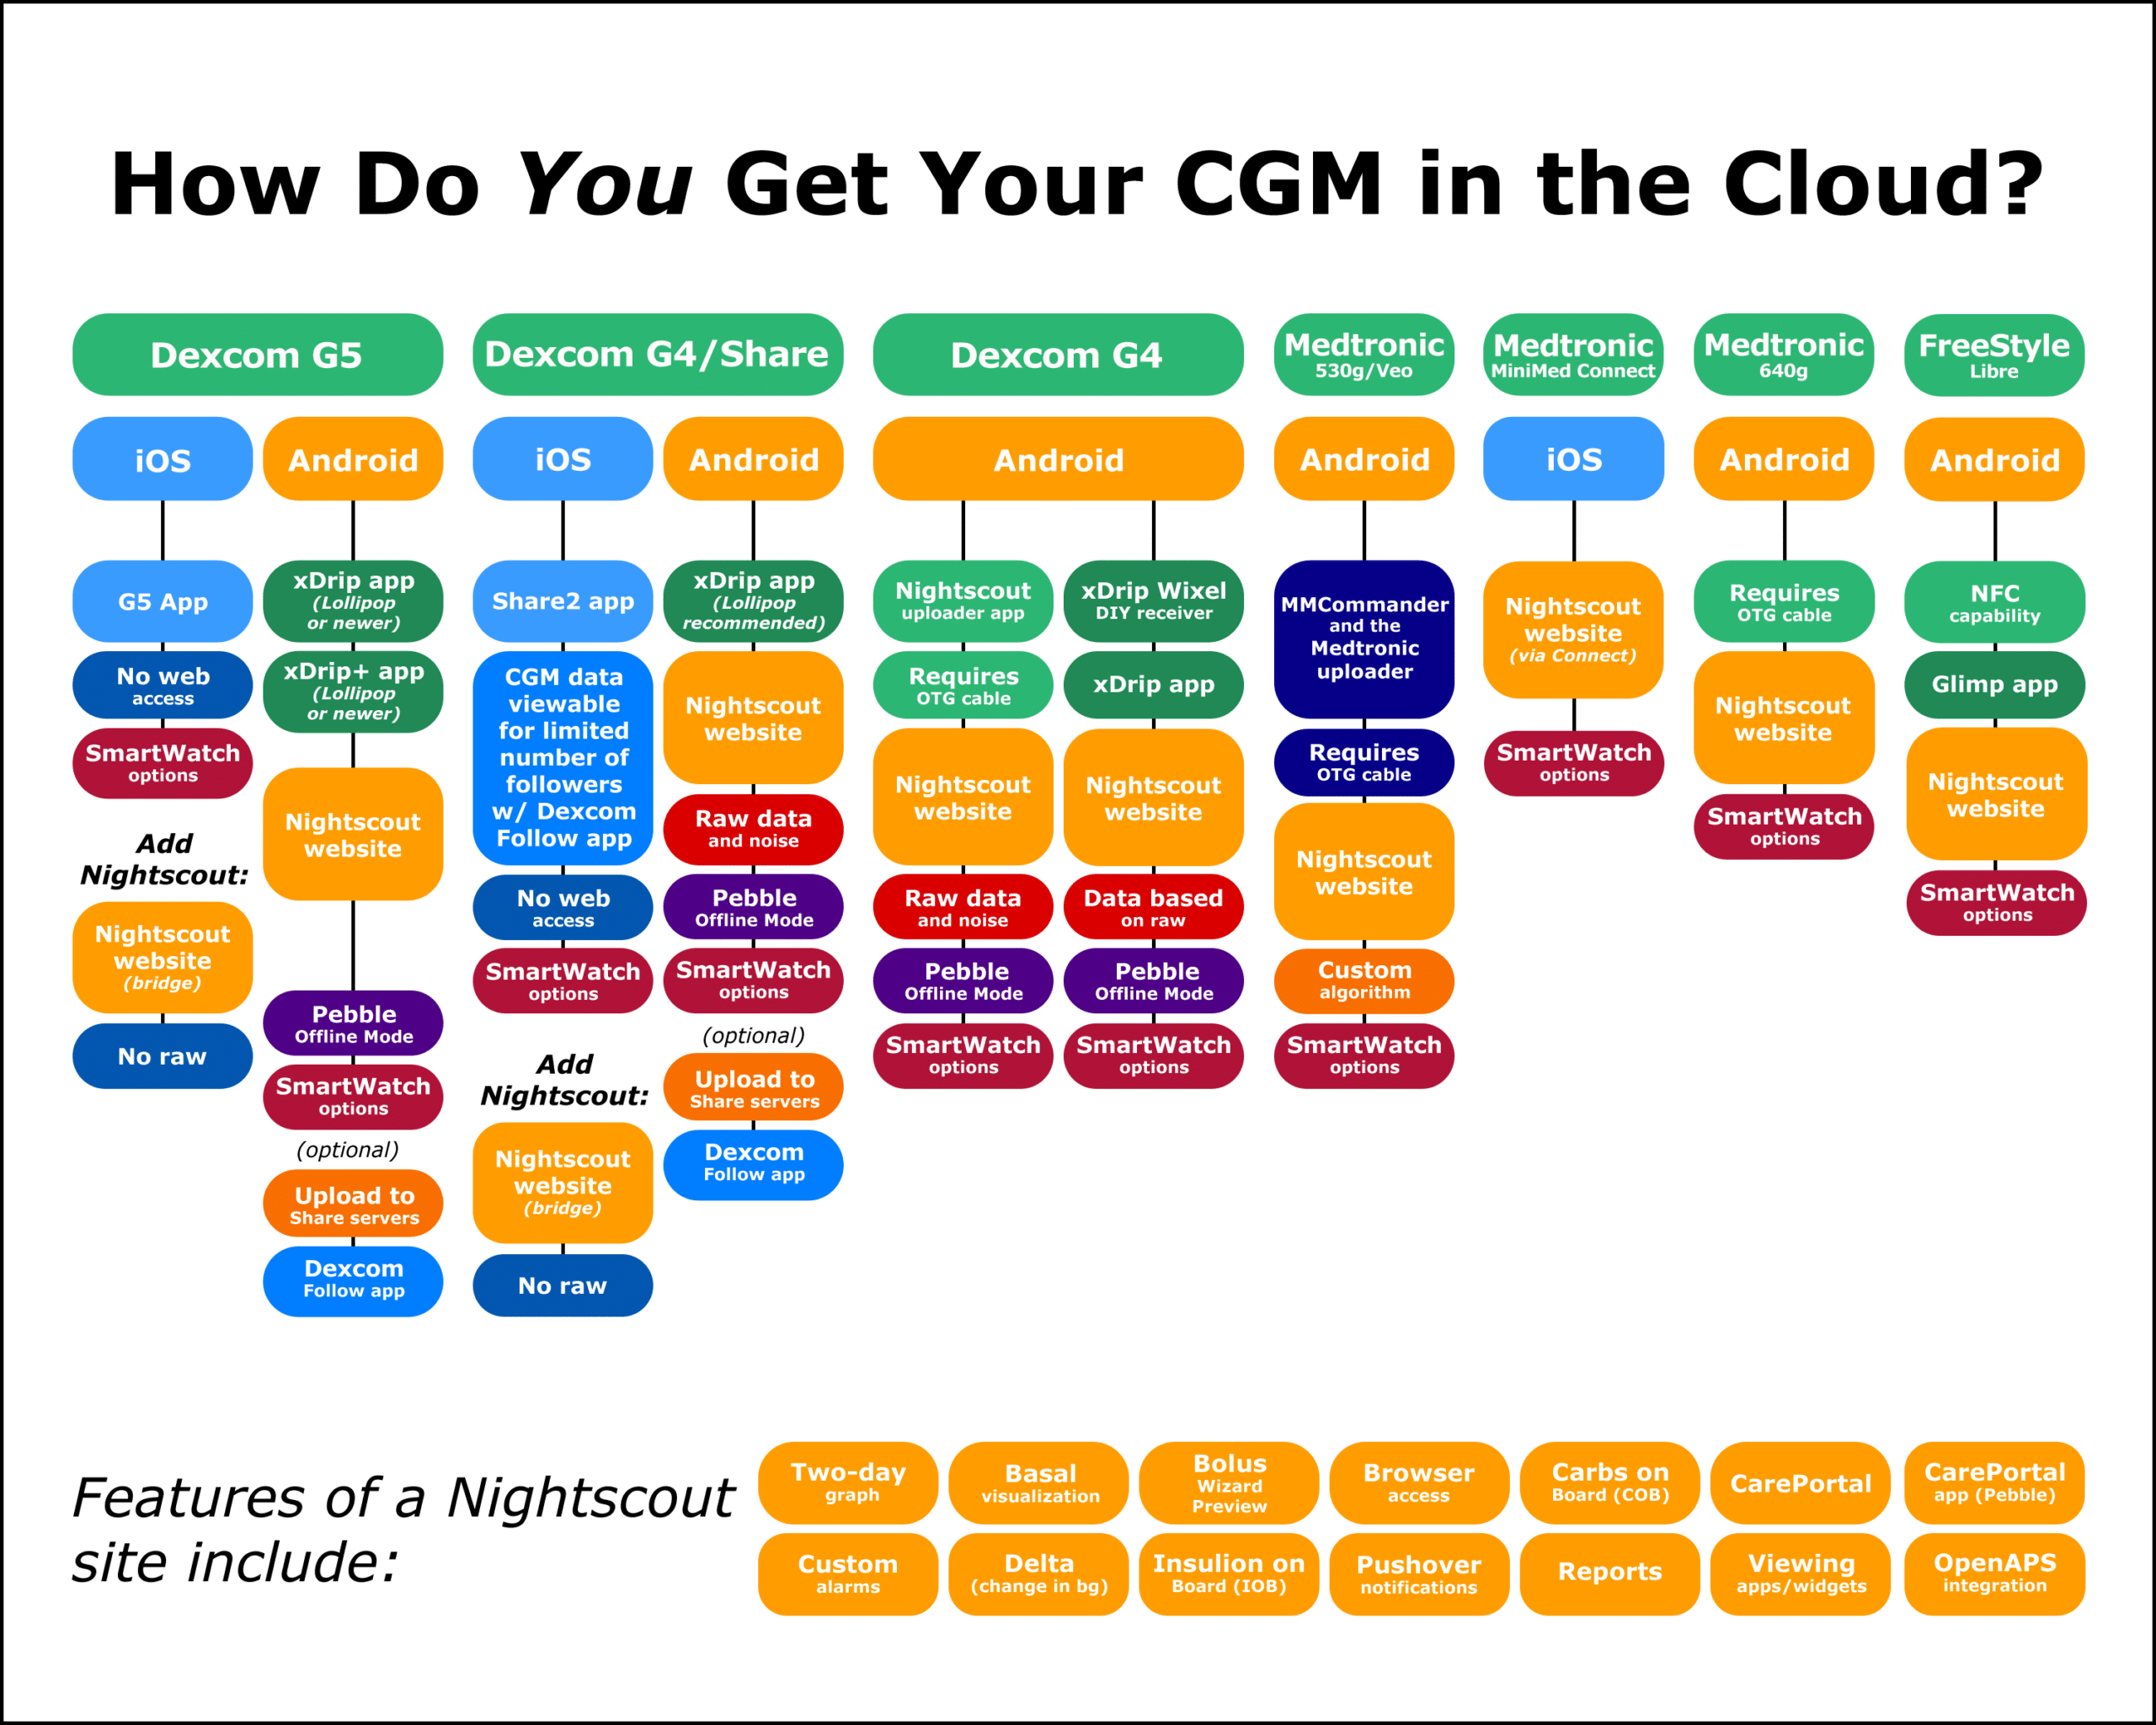 Ways to get your CGM data in the Cloud – Source: Nightscout.info
Detailed step-by-step guides will be published for each way someone can upload his Blood Glucose data in Nightscout or other tools like xDrip+, Spike etc.
You may also read: How can I update my Nightscout site to the latest version?
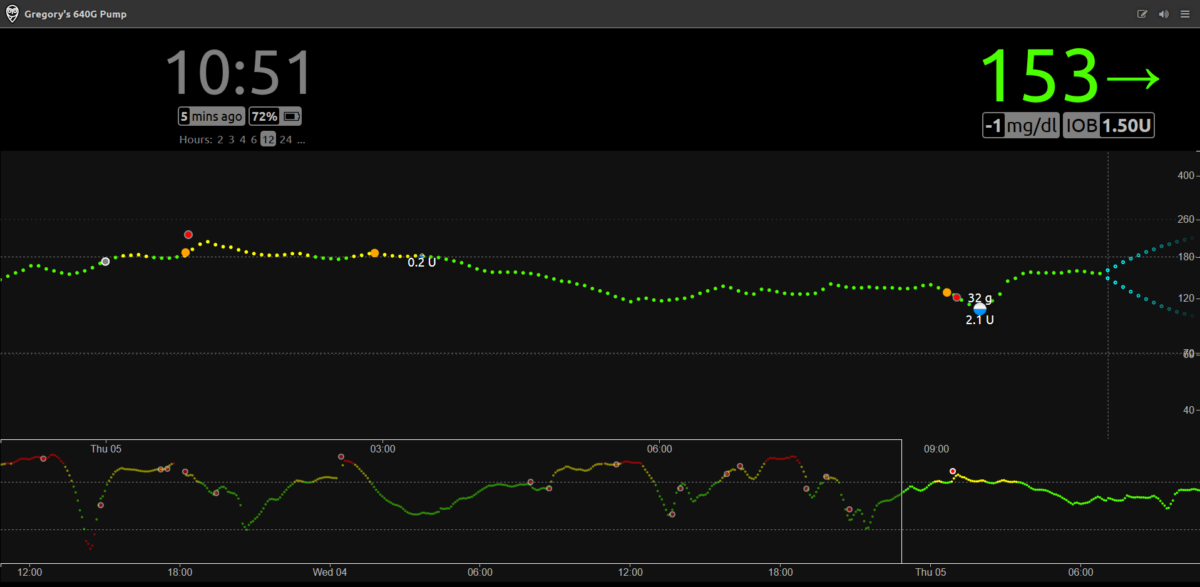
A final view of a successful Nightscout site set up should look like this:
The official Nightscout guide can be found here.
Do you still need help?
I have created a “Hypotalks” Discord server. I will do my best to support when time permits. Join the #Nightscout channel and drop a message.
The invitation link is: https://discord.gg/djkAv7uwYS
See you there!


Hi, and thanks for an excellent support and initiative. I tried to follow the dummies guide carefully but something fails on step 4k – I’ve tried a few times and every time same result. I’m getting an error message saying my MONGODB URI seems to be invalid. In this example URI “mongodb+srv://yourusername:yourpassword@cluster0.xxxxx.mongodb.net/?retryWrites=true&w=majority” I replaced username and PW with my own choices. Two questions though: 1) the xxxxx part is being automatically populated. Should I use that automatically given string there or something else? 2) in the example URI after mongodb.net/ there is just a question mark whereas I’m getting here again automatically populated string of myFirstDatabase. Should I include the myFirstDatabase string, take it completely away (and only leave the question mark plus of course the remaining part after the question mark) or replace it with something?
Thanks for your help already beforehand!
BR, Ville
Hello Ville, sorry for the late reply. 1. You should leave xxxxx with what is automatically populated. 2) Before the questionmark you should also leave the auto populated one which is the database name that the wizard has created for you. So it should look like that:
mongodb+srv://username:password@cluster-j0fg2gvg.3k11p.mongodb.net/?retryWrites=true&w=majority Let me know if it works. Good luck!
Best regards,
Chris
I have my set up Nightscout in both Glimp and Tomato and my data is not getting added to my site. It is also not getting added to my MongoDB database. I am getting a Miao Miao shipped right now so I have just been experimenting with manual entries into Tomato. However, these manual entries are not showing up. I can see my devicestatus collections populating from Tomato into MongoDB, but nothing else. Any ideas?
Hi there. I have no experience with Glimp and/or Tomato since my son is now looping on AAPS with Dexcom G6. I am checking Glimp’s settings: did you enter the correct API_Secret? If yes, did you click the “Test Connection” button? Does it successfully connect?
Hi – just worked through the setup – with no error messages! When I open the Nightscout app on my phone there are no values showing – the graph is empty … what do I need to do to import the data ?! Thanks
Hi Helen,
good news that you have no errors! Next step is indeed to upload the data to Nightscout. On the same article jump to section “Setup your CGM data uploader” and you will see a diagram with various ways to upload data depending the CGM you use. Below the diagram there is also a link from official Nightscout site with more details. Which CGM do you use, maybe I can help you more with it. Thanks, Chris
Hey I am also doing this same thing right now. I am using dexcom G6 and at the same point!
Please follow the steps below:
1. Go to Heroku
2. Choose your app you have just created
3. Click the gear icon
4. Select ‘Config Vars’ below
5. Find ENABLE and add in the values next to it the word ‘bridge’ without quotes in order to add the bridge plugin. This will eventually bridge Nightscout with your Dexcom Share.
6. Find BRIDGE_USER_NAME and add as a value your Dexcom username (the one you use for Dexcom account, Clarity etc)
7. Find BRIDGE_PASSWORD and as a value add your Dexcom password
8. Find BRIDGE_SERVER and as a value add EU if you are in Europe or leave the default blank value to pull data from Dexcom US servers.
9. Your settings are automatically saved.
10. Exit Heroku and leave sometime for Nightscout to collect the data.
NOTE: There are more parameters to customize if possible but you have to manually add the respective parameters in HEROKU. More details on official Nightscout page: https://nightscout.github.io/nightscout/setup_variables/#bridge-share2nightscout-bridge
Hope it helps!
Best regards,
Chris
Stuck at the same place as Cayce.
Hypotalker, thank you for the guided steps for Dex G6.
I am stuck on your step 4. Select ‘Config Vars’ below
We cannot select Config Vars. Any help? Very hung up. Thank you
Any other methods, this is complicated and seems to be outdated and unachievable